Coconut Milk Cheese Recipe: Step-by-Step
Learn how to make creamy, dairy-free coconut milk cheese at home with simple ingredients and customize it to your taste.
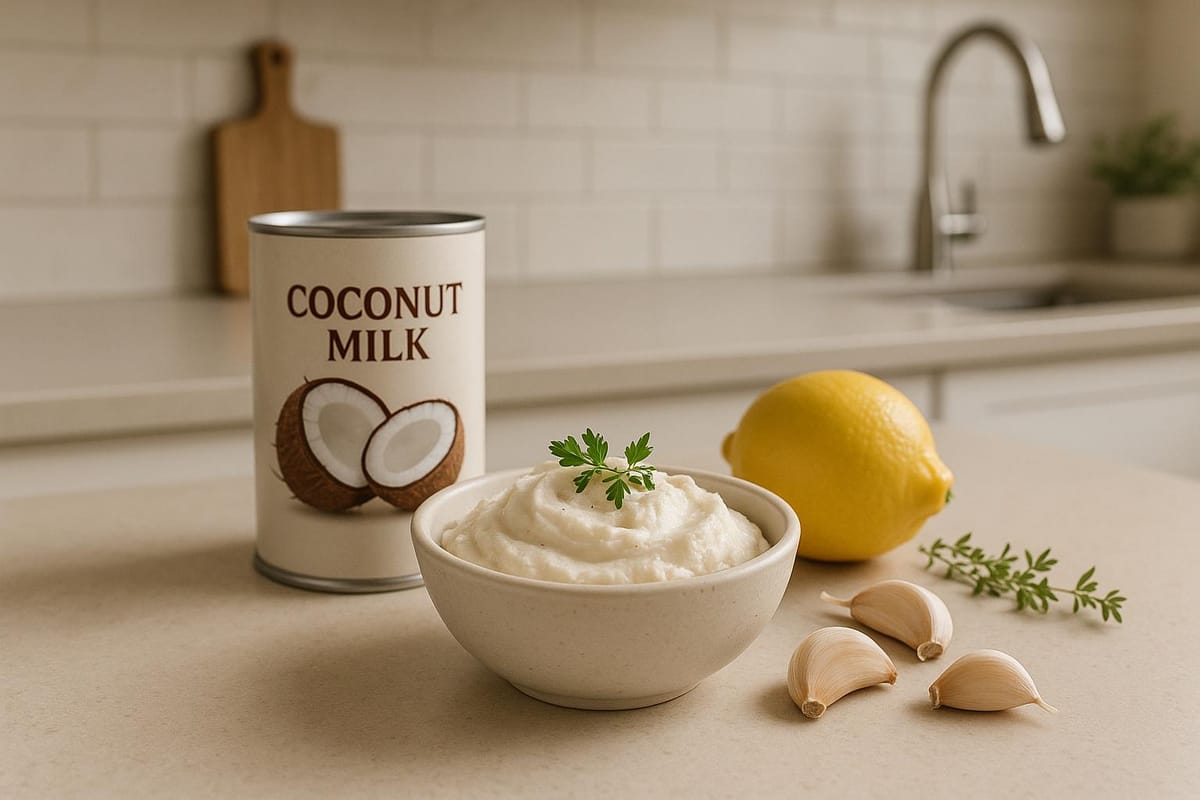
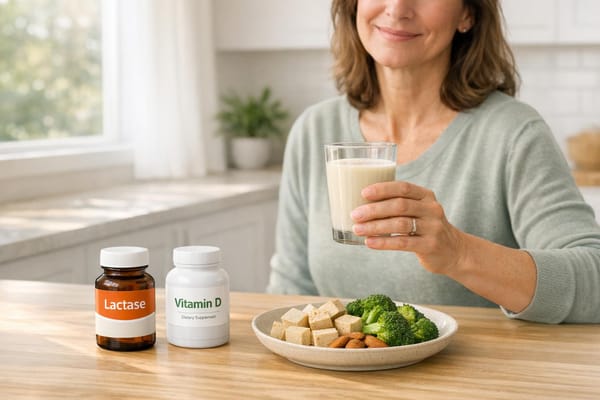
Coconut milk cheese is a plant-based, dairy-free alternative that’s easy to make at home. It’s perfect for those with lactose intolerance, vegan diets, or anyone looking for healthier cheese options. Made with full-fat coconut milk, agar agar, and nutritional yeast, this recipe delivers a creamy texture and customizable flavors. Here’s what you need to know:
- Main Ingredients: Full-fat coconut milk, agar agar, nutritional yeast, salt, and lemon juice/apple cider vinegar. Optional add-ins include garlic powder, smoked paprika, or fresh herbs.
- Preparation: Heat and whisk ingredients, boil for 6 minutes, pour into a mold, and refrigerate until set.
- Texture Options: Adjust agar agar and tapioca starch for firm, meltable, or spreadable results.
- Storage: Refrigerate for up to 5 days or freeze for 3 months.
This cheese works well in sandwiches, quesadillas, salads, and more. Experiment with flavors like sun-dried tomatoes, chili peppers, or cranberries for unique twists. Ready to try it? Gather your ingredients and get started!
How to Make Coconut Milk Cheese (Delicious!)
Ingredients and Tools You Need
Making coconut milk cheese at home is surprisingly straightforward, and you only need a handful of ingredients and basic tools - most of which you can find at your local store.
Main Ingredients
The star of this recipe is full-fat coconut milk, which creates a rich and creamy base. A single 13.5 oz can is enough for one batch.
To solidify the coconut milk, you'll need a thickening agent. Agar agar powder is a popular choice - use about 2 tablespoons per batch. If you have agar agar flakes instead, you'll need to triple the amount to achieve the same firmness. Other options include tapioca starch or kappa carrageenan, though these might result in slightly different textures.
For that signature cheesy flavor, nutritional yeast is key. Just 2 tablespoons will give your cheese a dairy-free, cheesy kick.
Seasonings like salt (1¼ teaspoons) and an acidic ingredient such as lemon juice or apple cider vinegar (½ teaspoon) add depth and a tangy edge to your cheese.
Want to elevate your cheese? Experiment with optional flavor boosters like garlic powder (¼ teaspoon), onion powder, smoked paprika, fresh or dried herbs, miso paste, or even chili peppers to create a cheese tailored to your taste.
"I have found the richest and creamiest vegan cheese is made from a can of full-fat coconut milk." - Monica Davis, The Hidden Veggies
Required Tools
The tools you need are simple and likely already in your kitchen. A medium saucepan is a must for heating and mixing the ingredients, and a whisk ensures a smooth, lump-free blend.
To set your cheese, use glass or ceramic molds - these are non-reactive and make it easy to remove the cheese once it's firm. A light coat of oil on the molds prevents sticking. If you're making a cream cheese-style version, you'll also need a cheesecloth or nut milk bag for straining.
For storage, have airtight containers ready. Glass containers are especially useful if you plan to make a meltable cheese that can be shredded later.
How to Choose Quality Ingredients
The quality of your ingredients can make or break the final product, so it’s worth being selective. Start with high-quality coconut milk. Look for organic, BPA-free options with minimal ingredients - ideally just coconut and water. Brands like Natural Value Organic Coconut Milk and Native Forest Simple Organic Coconut Milk are excellent choices, as they avoid additives like guar gum.
When deciding between canned and carton coconut milk, canned versions are usually thicker and richer, which is ideal for cheese-making. However, UHT cartons may offer a fresher flavor due to less heat processing.
For nutritional yeast, you can choose between fortified and unfortified varieties. If you’d rather skip synthetic vitamins, go for unfortified, though fortified options are perfectly safe and provide extra B-vitamins.
Lastly, use a kitchen scale for accurate measurements - small variations can significantly affect the texture of your cheese.
Step-by-Step Instructions
Ready to turn your ingredients into a creamy, delicious coconut milk cheese? Let’s dive into the process. While it’s simple, timing and technique are key to achieving the perfect texture and flavor.
Getting Ready
Start by organizing your workspace and keeping all your pre-measured ingredients within arm’s reach. Lightly oil your cheese mold to prevent sticking - glass or ceramic containers work best for this.
If you’re planning to make a flavored cheese, prepare your add-ins now. For example, if you’re using jarred red peppers or pimentos, pat them dry with a paper towel to remove any extra moisture, then chop them coarsely. Working with dried chili peppers? Rehydrate them by soaking in boiling water for about 20 minutes, then remove the stems and seeds.
If your recipe calls for refined coconut oil, melt it ahead of time so it’s ready to go. Also, make sure you’re using full-fat coconut milk; it’s essential for achieving the right texture and richness. Once everything is prepped, you’re ready to start cooking.
Heating and Mixing
Place a medium saucepan over medium heat, and add all your ingredients - except for any final add-ins like nuts or dried fruits. Your base will typically include full-fat coconut milk, agar agar powder, an acid like lemon juice or apple cider vinegar, miso paste, salt, nutritional yeast, and any spices.
Whisk the mixture continuously as it heats. Once it reaches a gentle boil, keep stirring for about 6 minutes. This step is critical for fully dissolving and activating the agar agar.
"Stir the cheese sauce very frequently. Do not walk away from it while cooking." - Monica Davis, The Hidden Veggies
If you’re making a meltable cheese, there’s an extra step. After boiling for 5 minutes, mix 2 tablespoons plus 1 teaspoon of tapioca starch with ¼ cup of cold water. Stir this mixture into the boiling cheese sauce and cook for another minute. The sauce will thicken and become stretchy, reaching a consistency similar to thin pudding. Once it’s ready, move on to setting and cooling.
Setting and Cooling
Remove the saucepan from heat and pour the mixture into your prepared mold immediately. Work quickly, as agar agar starts to set at room temperature.
Let the cheese cool for 15 minutes at room temperature. Then, cover it and refrigerate for at least 2 hours. If you’re making the meltable version, let it chill for 3 hours to ensure the tapioca starch fully sets, giving the cheese a firm texture that holds its shape.
Making Cream Cheese Style
Want a spreadable, cream cheese-style alternative? Follow these tweaks: use 1½ tablespoons of agar agar and add an extra tablespoon of acid. After heating, let the mixture cool to room temperature, then strain it through cheesecloth. Refrigerate for 4-6 hours, gently pressing to remove excess liquid. The result is a soft, creamy cheese perfect for bagels or recipes calling for a smooth, spreadable option.
Fixing Common Problems
Here’s how to troubleshoot if things don’t go as planned:
- Too soft: Add ½ tablespoon more agar agar and ensure you’re boiling for the full 6 minutes while stirring.
- Too firm or rubbery: Use ½ tablespoon less agar agar and monitor the texture closely during cooking.
- Grainy texture: Whisk continuously and maintain an even temperature throughout the process.
- Bland flavor: Add an extra tablespoon of nutritional yeast or increase salt by ¼ teaspoon. Remember, flavors will deepen as the cheese cools.
- Won’t release from mold: Allow more cooling time and ensure the mold is well-oiled before pouring in the mixture.
Recipe Variations and Customization
Now that you’ve mastered the basics, it’s time to let your imagination run wild. One of the best things about coconut milk cheese is how easily it can be customized. You can tweak flavors, textures, and even its uses to fit any dish or occasion. Let’s explore some fun ways to make this cheese your own.
Different Flavors to Try
The possibilities are endless when it comes to flavoring your coconut milk cheese. Want something smoky? Add liquid smoke and smoked paprika to create a gouda-like twist. For a cheddar-inspired version, try turmeric with smoked paprika. If you’re feeling adventurous, stir in some chopped kimchi for a spicy, tangy kick.
Looking for a fruitier option? Mix in cranberry sauce and chopped pecans for a festive touch, or use canned peaches to add a hint of sweetness - perfect for cheese boards or salads. Spice lovers can create a chile cheddar by combining rehydrated dried chiles and canned green chiles, giving it a smoky heat ideal for tacos or quesadillas.
For a Mediterranean vibe, blend sun-dried tomatoes and garlic into your cheese - it’s a perfect pairing with crackers or as a sandwich spread. Fresh herbs like parsley, dill, basil, or tarragon also work beautifully for an herb-infused variety. And if you’re craving something sweet and savory, roll your cheese in chopped dried tart cherries and pistachios for a visually stunning and flavorful treat.
Changing the Texture
Texture is another area where you can get creative. Want a firm, sliceable cheese? Use 2 tablespoons of agar agar. Prefer something meltable? Combine 4 teaspoons of agar agar with 2 tablespoons plus 1 teaspoon of tapioca starch. For a super-spreadable cream cheese consistency, increase the acid and slightly reduce the agar agar.
If you need a cheese that’s easy to grate, pop your set cheese in the freezer for about 30 minutes. This temporary firmness makes grating a breeze. Keep in mind, even small changes to the amounts of liquid, agar agar, or tapioca starch can make a big difference in the final texture, so don’t be afraid to experiment.
Ways to Use Your Cheese
Coconut milk cheese is incredibly versatile, making it a fantastic addition to a variety of dishes. Use meltable versions for pizzas or grilled cheese sandwiches, and firm options for slicing onto sandwiches, cheese boards, or baked dishes like potatoes au gratin.
The chile cheddar variation is perfect for quesadillas, enchiladas, or tacos, while the kimchi version adds a bold twist to grilled cheese or salads. If you’re a fan of Southern-inspired dishes, the pimento cheddar variation makes an excellent base for a vegan pimento cheese spread.
For something fun and playful, use cookie cutters to shape your cheese - kids will love it as a snack, and it’s a cute addition to any party platter. Sweeter variations, like those with honey or fruit, can elevate a dessert board or serve as a unique end to a meal. Each flavor and texture you create opens up new possibilities for your culinary creations.
Storage and Serving
To make the most of your homemade coconut milk cheese, proper storage and thoughtful serving are key. With the right approach, you can keep it fresh for days and enjoy it in a variety of meals.
How to Store Coconut Milk Cheese
When it comes to storage, glass containers are your best bet. Unlike plastic, glass won’t absorb any flavors or odors, which helps maintain the cheese’s original taste. Always use airtight glass containers to lock in freshness.
Your coconut milk cheese will stay at its best for up to 5 days in the refrigerator. If you need to store it longer, freezing is an option. Frozen coconut milk cheese can last for up to 3 months, but keep in mind that freezing may slightly change its taste and texture. To make it easier to use later, slice or shred the cheese before freezing, and store the pieces in an airtight freezer bag. This way, you can thaw only what you need without defrosting the entire batch.
When it’s time to thaw, do so in the refrigerator. If you need to grate the cheese, pop it into the freezer for about 30 minutes after thawing to make grating easier.
By following these storage tips, you’ll ensure your cheese stays fresh and ready to enhance any dish.
Best Ways to Serve
Coconut milk cheese is incredibly versatile, lending itself to both sweet and savory dishes. It’s perfect for slicing onto sandwiches, spreading on crackers or bagels, crumbling over salads, melting into quesadillas or mac and cheese, or even showcasing on a cheese board for special occasions.
Monica Davis from The Hidden Veggies suggests using coconut milk cheese to make vegan mac and cheese. Her recipe involves creating a creamy cheese sauce from coconut milk and spices, which is then mixed with cooked macaroni. For a baked version, she recommends topping it with panko bread crumbs and vegan butter before baking.
This cheese also shines at breakfast. Its spreadable consistency makes it ideal for morning treats like bagels or toast.
For the best flavor, let your cheese sit at room temperature for about 15–20 minutes before serving. This slight warming brings out its full taste and makes it easier to spread. And if you’re using it in a dish that requires melting, coconut milk cheese delivers a satisfying stretch that elevates the meal. Whether you’re spreading, crumbling, or melting, this cheese adapts beautifully to a variety of culinary creations.
Conclusion
Key Takeaways
Making coconut milk cheese at home is both straightforward and satisfying. Here's how it works: start with high-quality ingredients like full-fat coconut milk, agar-agar powder, nutritional yeast, and lemon juice. Heat everything together, stirring constantly, and boil the mix for 6 minutes to ensure the agar-agar fully dissolves. Then, pour the mixture into a container to set.
This recipe is incredibly versatile, giving you room to experiment. Add garlic powder, fresh herbs, or even a touch of miso paste for an extra punch of flavor. Whether you prefer a creamy spread or a meltable option for cooking, you can tweak this recipe to suit your needs.
For storage, keep your cheese fresh in the refrigerator for up to 5 days or freeze it for up to 3 months. With these steps, you're ready to dive into the world of homemade cheese.
Time to Get Started
Now that you know the essentials, it’s time to gather your ingredients and start crafting. This recipe is a blank canvas for your creativity, allowing you to make each batch your own. As Monica says, "It may seem overwhelming to make your own cheese, but I promise that it is very easy and worth every bit of your time!"
Whether you’re spreading it on your favorite bagels, melting it into a creamy mac and cheese, or serving it on a cheese board, this homemade dairy-free cheese will elevate your meals. So, roll up your sleeves, bring your ideas to life, and let your kitchen adventure begin. Your taste buds are in for a treat!
FAQs
Can I use a different thickening agent if I don’t have agar agar, and how will it change the texture of the cheese?
Yes, you can swap out agar agar for other thickening agents like carrageenan, cornstarch, arrowroot powder, tapioca starch, pectin, xanthan gum, or guar gum. For vegan cheese, carrageenan works particularly well since it creates a gel-like texture similar to agar agar.
Keep in mind that your choice of thickener will affect the final texture. Using cornstarch or arrowroot powder will result in a softer, less firm cheese. If you go with tapioca starch, expect a slightly chewy consistency. Each option brings a unique texture, so choose based on the firmness and mouthfeel you're aiming to achieve.
How can I adjust the flavor of my coconut milk cheese if it tastes too bland or too tangy?
To tweak the flavor of your coconut milk cheese, start by figuring out what it’s missing. If it feels a bit plain, you can add a touch of sweetness with sugar, honey, or maple syrup to lift the flavor. Want it tangier? A splash of lemon juice or vinegar can do wonders.
If the coconut taste is overpowering, try using a small pinch of baking soda to tone it down. For a savory twist, mix in some nutritional yeast to give it a cheesy, umami edge, or probiotics for a sharper, tangy profile. Make these adjustments little by little, tasting as you go, until you hit the perfect flavor balance.
How can I adjust the texture of coconut milk cheese to make it firm, meltable, or spreadable?
The texture of coconut milk cheese can be adjusted by modifying the ingredients and how it's prepared. Want a firmer cheese? Add more fat and include coagulants like agar or carrageenan. If you're aiming for a meltable cheese, focus on balancing the acidity and allow enough time for it to age properly. For a spreadable texture, gently warm the coconut milk, blend it well, and make sure not to over-thicken it during the process.
Playing around with these tweaks will help you find the consistency that works best for you!