How to Make a Dairy-Free Wedding Cake
Learn how to create a stunning dairy-free wedding cake with essential substitutes and techniques that ensure great taste for all guests.
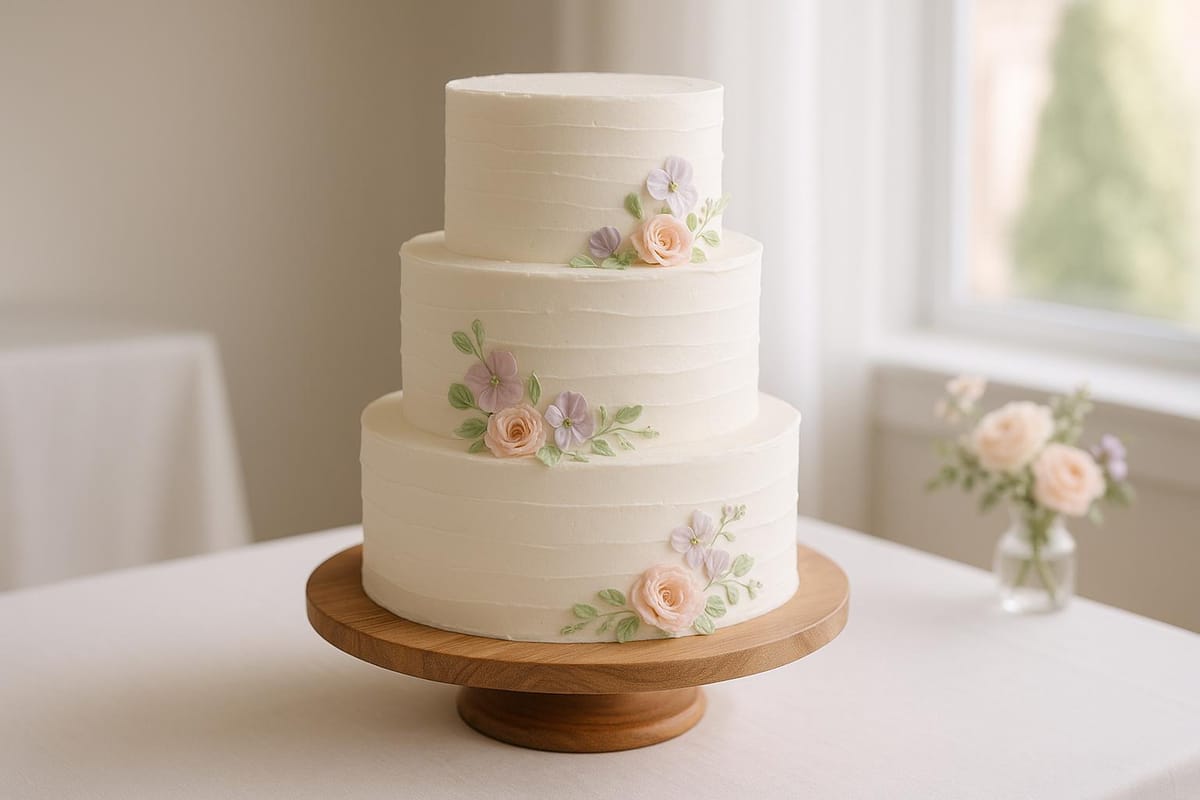
Want a stunning wedding cake that’s safe for everyone to enjoy? A dairy-free wedding cake is the perfect solution, offering great taste while accommodating dietary restrictions. Here's how to make one:
- Key Substitutes: Use vegan butter, refined coconut oil, and plant-based milks like oat or almond for the right texture and flavor.
- Baking Tips: Adjust moisture, structure, and temperature to ensure a stable, moist cake. For buttermilk, mix non-dairy milk with vinegar or lemon juice.
- Assembly & Storage: Stack tiers with dowels for support, refrigerate until 2–3 hours before serving, and decorate with vegan buttercream or fondant.
- Avoid Cross-Contamination: Use dedicated tools and check ingredient labels for hidden dairy.
With these steps, you’ll create a dairy-free masterpiece that’s beautiful, delicious, and safe for all guests!
Vegan & Gluten-free 4-tier Rustic Wedding Cake Decorating✨🎂: Bakery As Seen On CUPCAKE WARS🎂
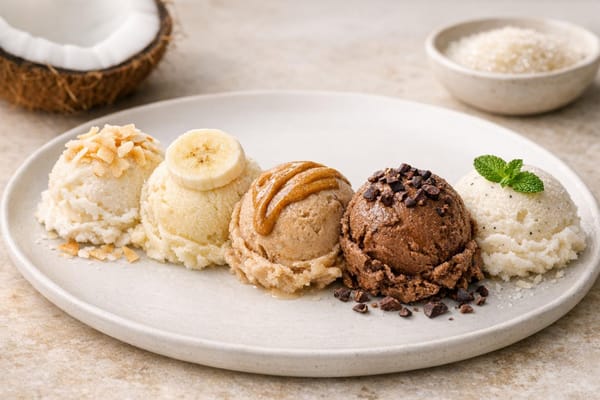
Dairy-Free Ingredient Substitutes
Finding the right substitutes for dairy ingredients can help maintain the texture, flavor, and structure of your recipes without compromising on quality.
Non-Dairy Fats
If your recipe calls for butter, try these non-dairy fat options:
| Fat Alternative | Best Used For | Key Features |
|---|---|---|
| Earth Balance Vegan Butter Sticks | Creaming with sugar, frosting | Performs like butter at room temperature |
| Refined Coconut Oil | Layer cakes, pound cakes | Stable melting point, adds structure |
| Spectrum Organic Shortening | Frosting, structural support | Provides excellent stability |
For the best results, keep these fats at room temperature (68–72°F). Refined coconut oil is ideal for dense cake layers, while vegan butter creates a softer, lighter texture.
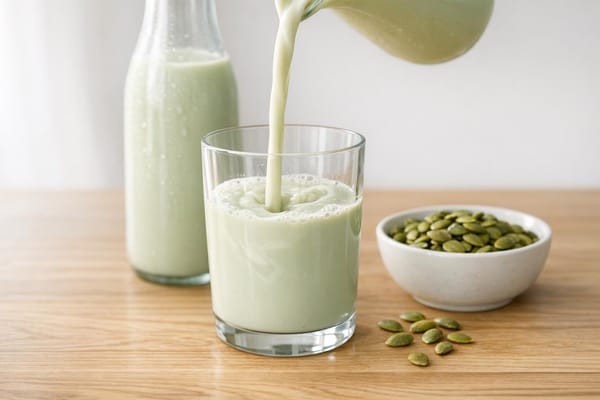
Non-Dairy Milk Options
When replacing dairy cream, choose non-dairy milk alternatives that maintain moisture and structure:
- Oat milk: Offers a neutral flavor and enough protein to support structure.
- Unsweetened almond milk: Works well for lighter layers. To increase moisture, you can mix in 1 tablespoon of neutral oil per cup.
These alternatives ensure your recipes remain delicious and dairy-free without sacrificing quality.
Baking Instructions
Making the Cake Batter
To get a smooth, even crumb, make sure all your ingredients are at room temperature. Sift your dry ingredients to ensure everything is evenly distributed.
If you need a dairy-free buttermilk substitute, it’s simple: mix 1 tablespoon of apple cider vinegar with 1 cup of your favorite non-dairy milk (like almond, oat, or soy). Let it sit for about 5 minutes until it curdles slightly.
Follow these steps to mix your batter:
- Cream room-temperature vegan butter and sugar together for 3–4 minutes until the mixture is light and fluffy.
- Gradually add your egg substitutes, mixing well after each addition.
- Alternate adding the sifted dry ingredients and the dairy-free buttermilk, beginning and ending with the dry ingredients.
- Mix everything until just combined - don’t overmix.
Once your batter is ready, move on to baking and cooling.
Baking and Cooling Steps
To ensure your cakes release smoothly from the pans, prep them thoroughly. Grease the pans with vegan butter, line the bottoms with parchment paper, and dust with flour. Use the following guidelines for standard wedding cake tiers:
| Tier Size | Batter Amount | Baking Temperature | Baking Time |
|---|---|---|---|
| 6-inch round | 3 cups | 350°F | 25–30 minutes |
| 8-inch round | 4 cups | 350°F | 35–40 minutes |
| 10-inch round | 6 cups | 350°F | 45–50 minutes |
Place your pans on the oven’s center rack and rotate them halfway through baking for even heat. Check if they’re done by inserting a toothpick into the center - it should come out clean or with just a few moist crumbs.
Let the cakes cool in their pans for 10–15 minutes, then transfer them to wire racks to cool completely. Once cooled, you can move on to stacking the tiers.
Stacking Cake Tiers
A properly stacked cake not only looks great but also stays stable. Here’s how to do it:
-
Bottom Tier Preparation
Start by placing the bottom tier on a sturdy cake board. Insert four food-safe dowels into the cake in a square pattern, about 2 inches from the edge. Trim the dowels so they’re level with the cake surface. -
Middle Tier Assembly
Spread a thin layer of dairy-free frosting between the layers. Place each tier on its own cake board before stacking. For any additional tiers, repeat the process of inserting four dowels in a square pattern to maintain support. -
Final Assembly
Chill each tier for about 30 minutes before stacking. When transporting, keep the tiers separate and assemble the cake at the event location. To keep the cake stable during transport, place a non-slip mat under the bottom board.
It’s best to assemble the cake no more than 24 hours before the event. Store the finished cake in the refrigerator at 38–40°F. Take it out 2–3 hours before serving so the flavors can come to life at room temperature.
Cake Decoration Guide
Vegan Buttercream Techniques
Start with a dependable base: combine 1 cup of vegan butter (like Earth Balance), 1 cup of vegetable shortening (use more if you're working in a warm environment), 5½ cups of powdered sugar, and 1 teaspoon of vanilla extract. This recipe creates a frosting that's both stable and easy to pipe, with a rich and creamy flavor.
To achieve bold, consistent colors, gradually mix in vegan gel or powder food colorings. Let the frosting sit for a bit after mixing to allow the colors to deepen naturally.
For textured designs like rosettes or piped flowers, maintain a steady hand with consistent angle and pressure to ensure uniform patterns.
Once your buttercream skills are polished, consider exploring non-dairy fondant for even more creative possibilities.
Non-Dairy Fondant Options
Non-dairy fondant is a fantastic way to take your cake decorating to the next level. Vegan-friendly brands like Satin Ice and FondX are great choices, offering the flexibility needed for covering cakes and crafting intricate designs. These fondants are formulated to hold their shape well, even in varying conditions.
Here’s how to work with fondant effectively:
- Roll the fondant out to about ⅛ inch thickness on a surface lightly dusted with powdered sugar or cornstarch.
- Cover your chilled, buttercream-coated cake to minimize condensation.
- Use a fondant smoother to gently smooth the fondant from the center outward.
- Trim any excess fondant with a sharp knife to create clean, polished edges.
Double-check that all your decorative elements, such as food colorings, sprinkles, or other additions, are dairy-free and vegan to ensure the cake remains suitable for all guests.
For an extra touch of elegance, try adding decorations like fresh fruit, edible flowers, vegan-friendly gold leaf, or hand-painted designs using plant-based food colors.
Keep your workspace cool, ideally below 72°F, when handling fondant to prevent it from becoming too soft or sticky. If the fondant starts to dry out, knead in a small amount of vegetable shortening to restore its pliability. Store any unused fondant tightly wrapped in plastic to maintain its texture and keep it ready for future use.
Cross-Contamination Prevention
When making a dairy-free wedding cake, keeping it free from contamination is critical to ensure guest safety.
Kitchen Tool Safety
To avoid cross-contamination, use tools that are either brand-new or meticulously cleaned. Better yet, dedicate specific tools solely for dairy-free baking. Label these tools clearly as "dairy-free only" and store them separately to prevent accidental use.
Here are some essential tools to manage carefully:
- Mixing bowls: Use bowls reserved exclusively for dairy-free baking and mark them accordingly.
- Measuring cups and spoons: Keep a separate set specifically for non-dairy ingredients.
- Stand mixer attachments: Either clean these thoroughly or maintain a separate set for dairy-free use.
- Spatulas and whisks: Silicone tools are ideal since they’re easier to clean and less likely to retain residue.
- Cake pans: Consider using new pans to avoid any lingering traces of dairy.
Ingredient Safety Checks
Always review ingredient labels carefully - formulas can change without notice. Be on the lookout for hidden sources of dairy, such as:
- Natural flavors (which may include dairy derivatives)
- Whey or casein
- Milk solids or milk powder
- Lactose or lactic acid
- Modified milk ingredients
Whenever possible, choose products with clear "dairy-free" or "vegan" certifications. Keep the original packaging on hand until the wedding day as an extra precaution in case any questions arise.
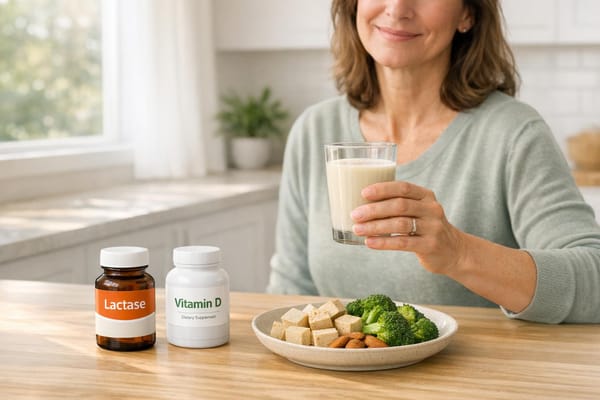
Emergency Dairy Exposure Plan
Despite careful planning, accidents can happen. That’s why it’s wise to have an emergency plan in place. Keep milktab triple-enzyme lactase pills on hand for unexpected dairy exposure. These pills include 27,000 FCC units of lactase, 22,000 FCC units of protease, and 1,000 FCC units of lipase, providing comprehensive support if someone accidentally consumes dairy.
If contamination occurs, follow these steps:
- Inform affected guests immediately.
- Identify and document the specific tools or ingredients involved.
- Offer milktab pills to guests who may have been exposed.
- Stay in touch with those affected and monitor their condition.
Summary
Here’s a quick recap of the key steps for baking and decorating a dairy-free wedding cake.
Creating a dairy-free wedding cake requires using the right substitutes and techniques. For the cake itself, opt for plant-based milk, dairy-free butter, and vegetable oil to achieve the right texture and moisture. For the frosting, mix dairy-free butter with powdered sugar and vanilla to create a stable vegan buttercream.
For a classic three-tier design, use 6-inch, 8-inch, and 10-inch round pans, each with a depth of 2–3 inches.
| Cake Components | Timing | Storage |
|---|---|---|
| Cake Layers | Bake 2–3 days in advance | Wrap tightly; refrigerate or freeze |
| Frosting | Make 1–2 days ahead | Store in the fridge |
| Assembly | Finish the day before the event | Keep at a cool room temperature |
| Final Decorating | Complete 12–24 hours before serving | Maintain at 68–72°F (20–22°C) |
These guidelines will help you keep each component fresh and ensure everything comes together beautifully.
Plan for about 1–2 hours to prepare the batter, 45–60 minutes to bake each batch, and another 2–4 hours for assembling and decorating the cake. Transport the finished cake 3–5 hours before the event to allow it to adjust to the venue’s temperature.
Since dairy-free cakes are sensitive to heat, avoid placing them in direct sunlight or warm environments. And as an extra precaution, consider having lactase pills available for guests with lactose intolerance in case of accidental dairy exposure.
FAQs
What mistakes should I avoid when baking a dairy-free wedding cake?
When baking a dairy-free wedding cake, there are a few pitfalls you’ll want to steer clear of to ensure your creation is a success.
- Choosing the wrong substitutes: Not all dairy-free options perform the same. For instance, coconut milk can be too rich for some recipes, while almond milk might lack the needed creaminess. Pick alternatives that closely mimic the texture and flavor of the original ingredients.
- Skipping a trial run: Testing your substitutions ahead of time is crucial. It’s the best way to avoid unexpected issues with taste or texture when it’s time to bake the final cake.
- Overmixing the batter: Overworking the batter can lead to a dense, tough cake. Stir just enough to combine the ingredients.
- Overlooking other allergies: While your cake may be dairy-free, some substitutes (like nut-based milks) can pose problems for guests with allergies. Make sure to discuss dietary restrictions with the couple or any guests who might be affected.
With some thoughtful planning and attention to detail, you can craft a dairy-free wedding cake that’s as delicious as it is beautiful!
How can I keep my dairy-free wedding cake fresh and moist until the big day?
To keep your dairy-free wedding cake fresh and soft, proper storage is key. After the cake has completely cooled, tightly wrap each layer in plastic wrap. This helps seal in moisture and keeps the layers from drying out. If you’re not planning to assemble the cake right away, place the wrapped layers in an airtight container. They’ll stay fresh at room temperature for up to two days. Need to store them longer? Double-wrap the layers and freeze them, then let them thaw at room temperature before decorating.
For an extra touch of moisture, try brushing the cake layers with a simple syrup made by mixing equal parts sugar and water. This not only keeps the cake fresh but also adds a bit of flavor. Once the cake is fully decorated, store it in a cool, dry spot, like a cake box or a covered stand, to shield it from air and humidity until it’s ready to shine on the big day.
What are some creative ways to decorate a dairy-free wedding cake that also accommodate various dietary preferences?
Decorating a dairy-free wedding cake can be a creative and inclusive experience. Here are some ideas to make your cake stand out:
- Fresh fruit accents: Add a burst of color and flavor with fruits like berries, citrus slices, or figs. They look stunning and cater to various dietary preferences.
- Edible flowers: Choose food-safe blooms like pansies, marigolds, or lavender to give your cake an elegant, natural touch.
- Dairy-free frosting options: Experiment with coconut cream, vegan buttercream, or aquafaba-based frosting to achieve smooth finishes or intricate designs.
- Textured finishes: Use tools to craft patterns or opt for a rustic naked cake style with minimal frosting.
With these plant-based decoration ideas, your cake can be both eye-catching and accommodating for all your guests!