How to Make Dairy-Free Vanilla Custard at Home
Create a rich and creamy dairy-free vanilla custard at home using simple plant-based ingredients, perfect for any lifestyle choice.
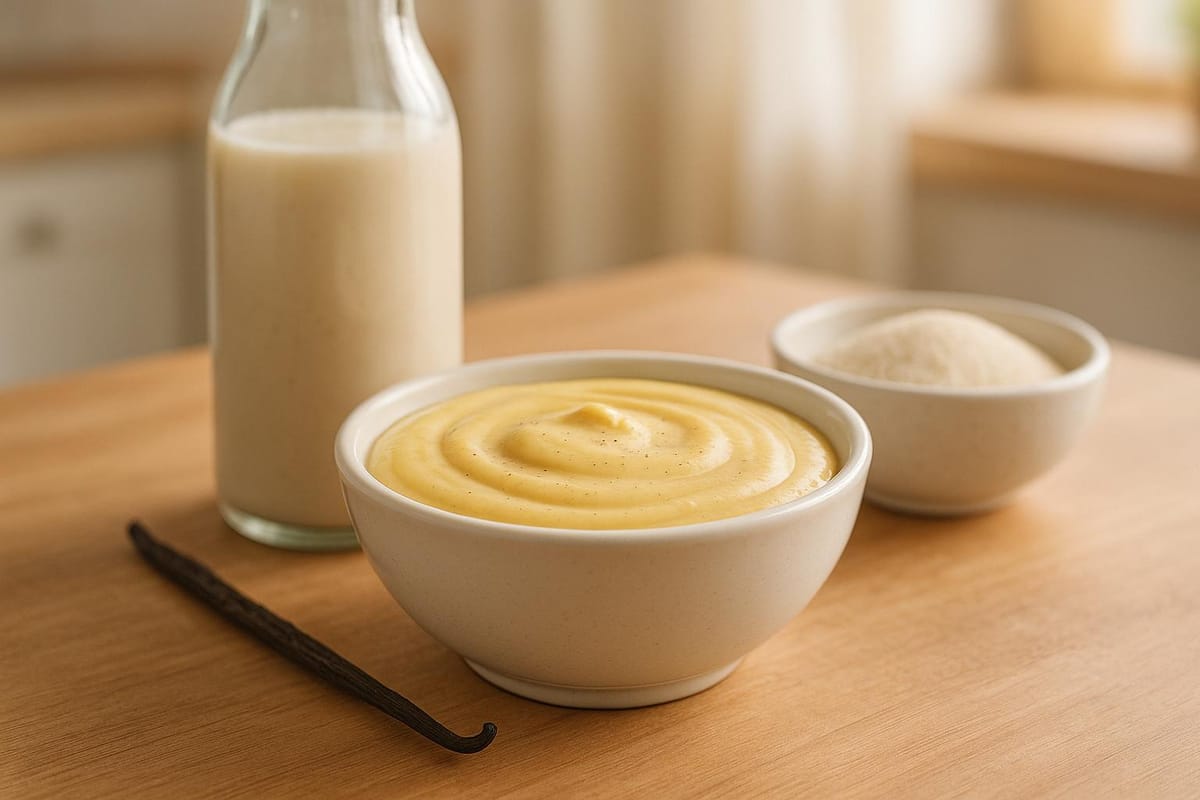
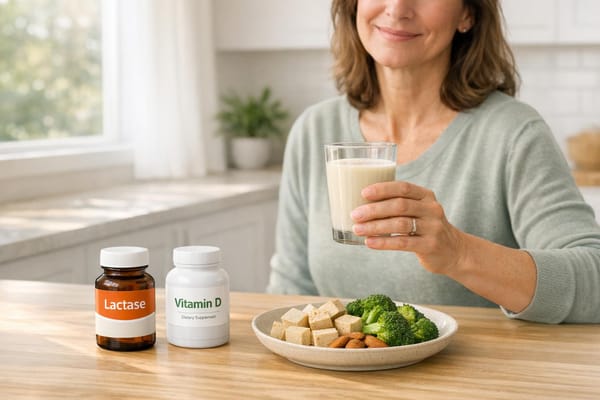
Making dairy-free vanilla custard is simple and lets you enjoy a creamy dessert without using dairy. Perfect for those who are lactose-intolerant, vegan, or prefer plant-based options, this recipe uses ingredients like oat milk and cornstarch to replicate the smooth texture of traditional custard. Here's what you need to know:
Key Steps:
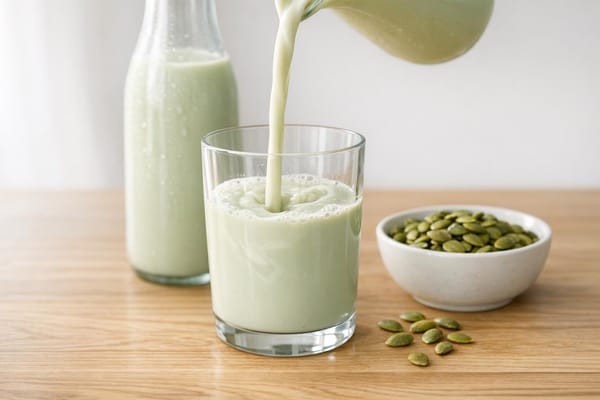
- Ingredients: Use plant-based milk (oat, soy, coconut, or almond), cornstarch, sugar, vanilla extract, and salt.
- Preparation: Mix cornstarch with cold milk, then heat the mixture with sugar and salt until thickened.
- Cooking: Whisk constantly over medium heat to avoid lumps.
- Finishing Touch: Add vanilla extract, strain for smoothness, and chill or serve warm.
Tips:
- Use full-fat plant milk for creaminess.
- Strain the custard to remove lumps.
- Store in the fridge for up to 3 days.
| Milk Type | Texture/Flavor |
|---|---|
| Oat Milk | Neutral and creamy |
| Coconut Milk | Rich and ultra-creamy |
| Soy Milk | Protein-rich and stable |
| Almond Milk | Light and nutty |
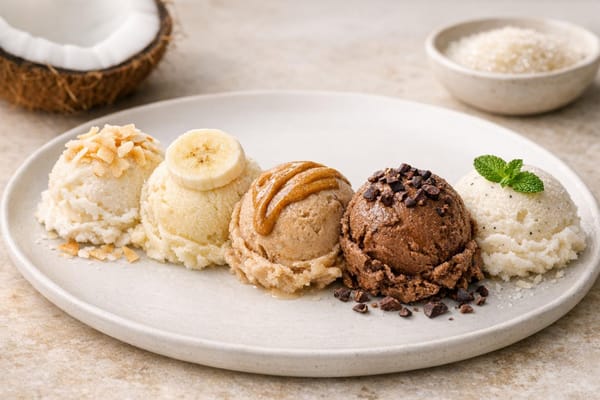
This dairy-free recipe is versatile and can be customized with different flavors like chocolate or lemon. Whether served alone, paired with fruits, or layered in desserts, it’s a great alternative to traditional custard.
Required Items
Ingredients List
To whip up a smooth and creamy dairy-free vanilla custard, make sure you have these carefully measured ingredients on hand:
Base Ingredients:
- 2½ cups oat milk (preferably full-fat) or light canned coconut milk
- ½ cup cornstarch
- ½ cup granulated sugar
- 1 teaspoon pure vanilla extract
- Pinch of salt
"Simple cane sugar produces the 'cleanest' taste. You can substitute another sweetener, like maple syrup or honey, though it will alter the flavor."
- Alisa Fleming
Plant Milk Options:
| Milk Type | Best For |
|---|---|
| Oat Milk | Traditional custard style with a creamy, neutral base |
| Coconut Milk | Rich dessert pairings with a luxurious texture |
| Soy Milk | Stable consistency with a protein-rich foundation |
| Flora Plant Cream | Professional-grade results for a restaurant-style finish |
For the best results, stick to unsweetened, unflavored plant milk. If you're swapping in vegan cream, stir in 2 tablespoons of vegan butter for added richness.
Once you've got your ingredients ready, it's time to gather the tools you'll need to bring it all together.
Kitchen Tools
Essential Tools:
- A medium-sized heavy-bottom saucepan (2–3-quart capacity)
- Wire whisk
- Silicone spatula
- Measuring cups and spoons
- Large mixing bowl
- Fine-mesh strainer
Additional Equipment:
- Kitchen thermometer (optional)
- Immersion blender (to smooth out any lumps)
- Airtight container for storage
Using a heavy-bottom saucepan is crucial to prevent scorching and ensure even heat distribution. And don't skip the fine-mesh strainer - it's the secret to achieving the silky-smooth texture that makes custard irresistible!
Making the Custard
Mix Ingredients
Start by preparing your ingredients at the right temperature - cold. Whisk together 1 tablespoon of cornstarch with 1/4 cup of cold plant milk until the mixture is smooth and lump-free. This step is crucial to avoid clumps later on. Next, in a heavy-bottomed saucepan, combine the rest of the plant milk with sugar and a pinch of salt. Whisk the mixture thoroughly until the sugar starts to dissolve, then stir in the cornstarch mixture.
"Cornstarch dissolves in cold liquid. Use cold ingredients and whisk until it dissolves. It must be dissolved before heating, or it will be lumpy. This is standard. As long as you whisk while the mixture heats, it will not be lumpy." - Alisa Fleming, Founder, GoDairyFree.org
Once combined, you’re ready to heat the mixture.
Cook the Mixture
Place the saucepan over medium-low heat and whisk continuously to keep the mixture smooth and prevent sticking.
| Visual Cue | What It Means | What to Do Next |
|---|---|---|
| Steam rising | Mixture is warming evenly | Keep whisking steadily |
| Slight thickening | Custard is forming | Maintain heat and whisk more |
| Coating the spoon | Almost ready | Test thickness on the spoon |
| Bubbling | Fully thickened | Remove from heat immediately |
As the custard starts to thicken, switch from a whisk to a silicone spatula. This will help you scrape the bottom and sides of the pan more effectively, ensuring even cooking. Once the custard reaches your desired consistency, it’s time to move to the finishing touches.
Finish and Serve
When the custard is thick enough to coat the back of a spoon, take it off the heat right away. Stir in vanilla extract for flavor, making sure it’s evenly incorporated. For an extra-smooth texture, strain the custard through a fine-mesh sieve into a clean bowl. This step ensures your dairy-free custard is silky and free of any lumps.
To prevent a skin from forming, press a piece of plastic wrap directly onto the surface of the custard. You can serve it warm or let it chill in the fridge, depending on your preference.
Serving ideas:
- Pour into glass bowls or mason jars for a charming presentation.
- Add fresh seasonal berries on top for a pop of color and flavor.
- Sprinkle with dairy-free chocolate shavings for a touch of indulgence.
- Use as a base for trifles or parfaits.
- Pair with vegan shortbread cookies for a delightful treat.
Fix Common Problems
Remove Lumps
Lumps in custard can often be fixed, especially if you catch them early in the cooking process. If lumps start to form, take the pan off the heat right away.
Here’s a quick guide to handling different types of lumps:
| Lump Type | Cause | Solution |
|---|---|---|
| Cornstarch clumps | Improper dissolution | Strain through a fine-mesh sieve, then reheat |
| Protein lumps | Overheated mixture | Blend gently with an immersion blender |
| Surface skin | Improper cooling | Remove by straining |
For lumps that persist during cooking, an immersion blender can work wonders. Use short pulses to smooth out the texture. If your cooled custard has developed lumps, gently warm it over low heat. Stir in a small splash of plant-based milk to restore its creamy texture.
Perfect the Consistency
Once lumps are under control, it’s time to get the texture just right. If the custard is too thin, return it to low heat and cook while stirring constantly. To thicken it, mix one of these slurries for every cup of custard:
- 1 tablespoon cornstarch mixed with 1 tablespoon cold water
- 2 tablespoons all-purpose flour mixed with 4 tablespoons cold water
- 1 teaspoon tapioca starch mixed with 1 tablespoon cold water
Whisk the slurry into the warm custard gradually, then cook until the mixture coats the back of a spoon and holds a clear line when you run your finger through it.
If the custard ends up too thick after cooling, whisk in small amounts of plant-based milk to loosen it. For a grainy texture, strain the custard through a fine-mesh sieve to remove any particles. Keep in mind that custard thickens more as it cools, so it’s better to stop cooking when it’s slightly thinner than your desired consistency.
Thick Vegan Vanilla Custard Recipe | Bake Vegan Stuff with Sara Kidd

Storage Guide
Let your custard cool to room temperature before transferring it to an airtight container. To keep it fresh, press a layer of plastic wrap directly onto the surface before sealing the lid. These simple steps help maintain that smooth, silky texture you worked so hard to achieve.
| Storage Method | Duration | Temperature | Notes |
|---|---|---|---|
| Refrigerator | 2–3 days | 35–40°F | Best for preserving texture |
| Freezer | Up to 1 month | 0°F | Texture might slightly change |
Refrigeration Tips
- Label the container with the preparation date.
- Plan to eat your custard within 2–3 days for the best flavor and consistency.
Freezing Guidelines
If you want to freeze your custard, you can store it for up to a month. Keep in mind, though, that the texture might shift a bit after thawing. For convenience, divide the custard into smaller portions before freezing - this makes thawing and reheating much easier.
Reheating Instructions
- Thaw frozen custard in the refrigerator overnight.
- Reheat gently over low heat, stirring constantly. Use a double boiler for even heating, or microwave in 20–30 second bursts, stirring in between.
- If the custard feels too thick, whisk in a splash of plant-based milk to loosen it up.
For food safety, reheat your custard only once.
Summary
Making dairy-free vanilla custard at home is easier than it seems. By using plant-based milks and cornstarch, you can achieve the same silky-smooth texture as traditional custard - without the dairy. The trick lies in keeping a close eye on the cooking process and carefully managing the temperature.
This dairy-free twist means more people can enjoy this timeless dessert. Whether you're lactose intolerant, committed to a plant-based lifestyle, or just cutting back on dairy, this recipe has you covered.
Here are a couple of tips to ensure your custard turns out perfectly:
- Use the best-quality ingredients you can find.
- Let it cool completely before storing to maintain its texture.
"It's important to continuously whisk as it heats, but it comes together rather quickly. And believe it or not, heating the eggs and starch together actually helps ensure proper thickening with smooth results." - Alisa Fleming
With the right approach and ingredients, your dairy-free vanilla custard can stand shoulder-to-shoulder with traditional recipes in both flavor and texture. Plus, its flexibility means you can tweak it to fit different dietary needs, all while keeping that classic custard feel everyone loves. Keep these tips in mind, and you'll nail it every time!
FAQs
Can I use something other than cornstarch to thicken dairy-free custard?
When making dairy-free custard, there are plenty of alternatives to cornstarch that can do the job just as well. Some popular options include all-purpose flour, arrowroot powder, potato starch, and tapioca starch.
For instance, you can swap arrowroot for cornstarch in equal amounts (1:1 ratio). Tapioca starch, on the other hand, might need a slightly larger quantity to reach the desired thickness.
Each thickener brings its own unique texture and qualities, so it’s worth trying a few to see which one suits your recipe best. To keep the custard smooth, be sure to mix your thickener with a bit of liquid before adding it to the rest of the ingredients - this helps prevent any pesky lumps.
How can I enhance the flavor of dairy-free vanilla custard?
To bring out the best in your dairy-free vanilla custard, start with premium vanilla extract or vanilla bean paste. These options add a deeper, richer flavor that takes the dessert to the next level. If you're looking to add some warmth, a dash of cinnamon or nutmeg can introduce a cozy, aromatic layer.
Want to experiment? Stir in a bit of coconut milk for a creamier texture, or add a drop of almond extract for a light, nutty undertone. Using thicker plant-based milks like oat milk or soy milk can also improve the custard's consistency, making it smoother and more indulgent. For a natural pop of color, mix in a tiny pinch of turmeric - it’ll give your custard a golden glow and a hint of earthy depth without overshadowing the vanilla.
How do I stop a skin from forming on dairy-free vanilla custard as it cools?
To ensure your dairy-free vanilla custard stays smooth and doesn't develop a skin as it cools, press plastic wrap directly onto its surface. This blocks air exposure, which is what typically causes the skin to form. Be sure the plastic wrap is in full contact with the custard, leaving no gaps. Another option is to stir the custard occasionally during cooling to keep its texture creamy.